How to Make an Interactive 3d Model using R3F
What is Three js?
Three.js is a cross-browser JavaScript library and application programming interface used to create and display animated 3D computer graphics in a web browser using WebGL.
React-three-fiber is a small React renderer for Three.js (also known as R3F), which is essentially a powerful React renderer for Three.js, usable for the web and with React Native.
Why Do We Need React Three Fiber?
With React Three Fiber, building a dynamic scene graph becomes so much easier because you can break it up into declarative, reusable components with clean, reactive semantics. This also opens up the ecosystem so that now you can apply generic packages for the state, animation, gestures and so on.
This is a small reconciler config with a few additions for interaction and hooks holding it all together. It does not know or care about the Three.js internals. Three.js is constantly changing and we don't want to rely on a specific version or chase their release cycle. This library works with v.1 as well as the latest release. At the same time, we don't want to alter any rules. If something works in Three.js in a specific way, it will be the same here.
Now, let's jump on to an example to understand the above concepts.
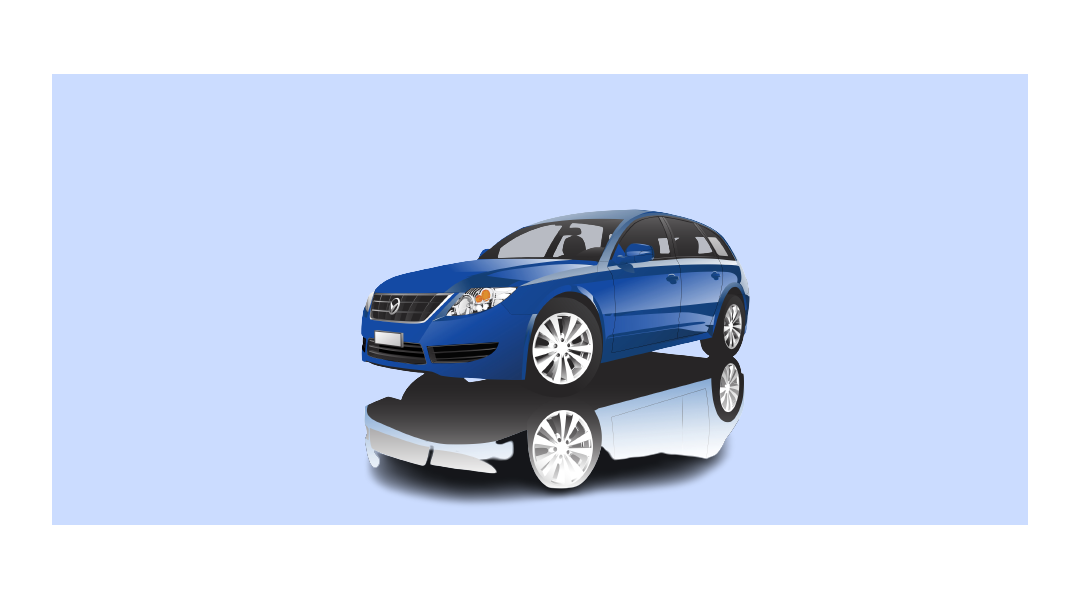
In this example, we will be adding a 3D Car Model that adds some interactions to it.
You can start by installing the React Three Fiber library in your React project.
npm install react-three-fibre
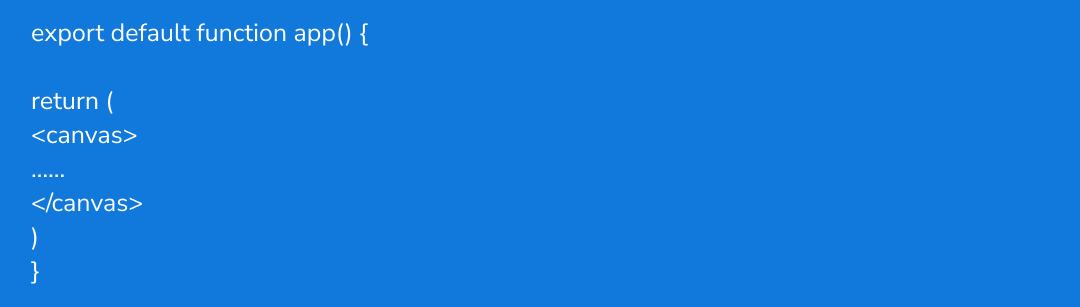
Step 1 (Creating the Canvas):
First of all, we will start by making the Canvas tags. This will give us the whiteboard and we can fill it with objects etc. Remember to give it height and width equivalent to the screen or according to your requirements.
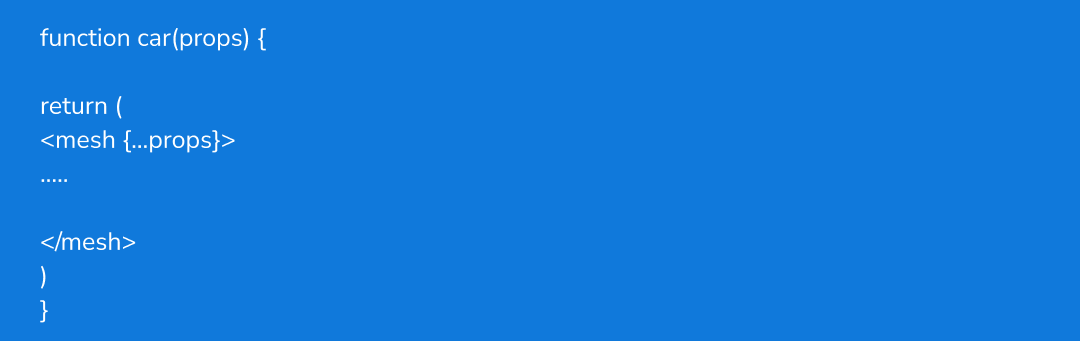
Step 2 (Making Car Component): Now we will make a simple Car component which will be our 3D Car object in the scene.
Like Three.js, we do not need to define our scene explicitly here, as the canvas sets it up as the default component for us.
Step 3 (Adding mesh): Now, we will make the mesh component. Too many terms, right? Don't worry. It's pretty straightforward.
Mesh: Mesh is just a holder for Geometry and Material and defines the position of an object in the 3D space. We can add this to our Scene. Geometry: This defines the shape of the object. Material: This defines the appearance of the surface of the mesh.
Step 4 (Light It Up): Now we have rendered our box but are not able to see its colour. The reason is that the scene is regarded as an environment in which things are not visible if there is no light and everything will be dark. That's why we have given white colour to our body of canvas and now we will be adding lighting to the code. There are various types of lights in Three.js, namely Ambient light, Hemisphere Light, Directional Light, Point Light, Spot Light, RectArea Light etc. that can be used in R3F too.
Here, we will be using ambient light. This light globally illuminates all objects in the scene equally.
This light cannot be used to cast shadows as it does not have a direction. You may have observed that now the colours of objects are showing up but the surfaces are not illuminating enough. To make that happen, I am also adding a spotlight here. This light gets emitted from a single point in one direction, along a cone that increases in size, the further it gets from the light.

Step 5 (Taking control over your camera): We are dealing with 3D Objects but it's not very convincing, considering that there is no camera control. So, let us become the cameraman of our 3D world and control the camera in our scene. There are two types of camera settings, Orthographic and perspective, and both cameras have a few basic properties like far and near, which are the clipping planes for the scene.
The only difference between these camera planes is their viewing plane. Orthographic projection uses orthogonal projection (parallel projection) which is a representation of 3D objects in a 2D dimension. Perspective projection is a linear projection where three-dimensional objects are projected on a picture plane. It makes use of a frustum plane, which is why distant objects appear smaller than nearer objects. In R3F, our canvas by default sets up the perspective camera. You can switch to orthographic too. Now that we know our cameras, we can also move our camera with help of controls like orbital controls, fly controls, PointerLock Controls, FirstPerson Controls etc. Here, I will be using the Orbital controls from the Drei library, which makes the camera orbit around a target. You do not need to add any extra lines of code to set up controls as Drei also provides many helper components.

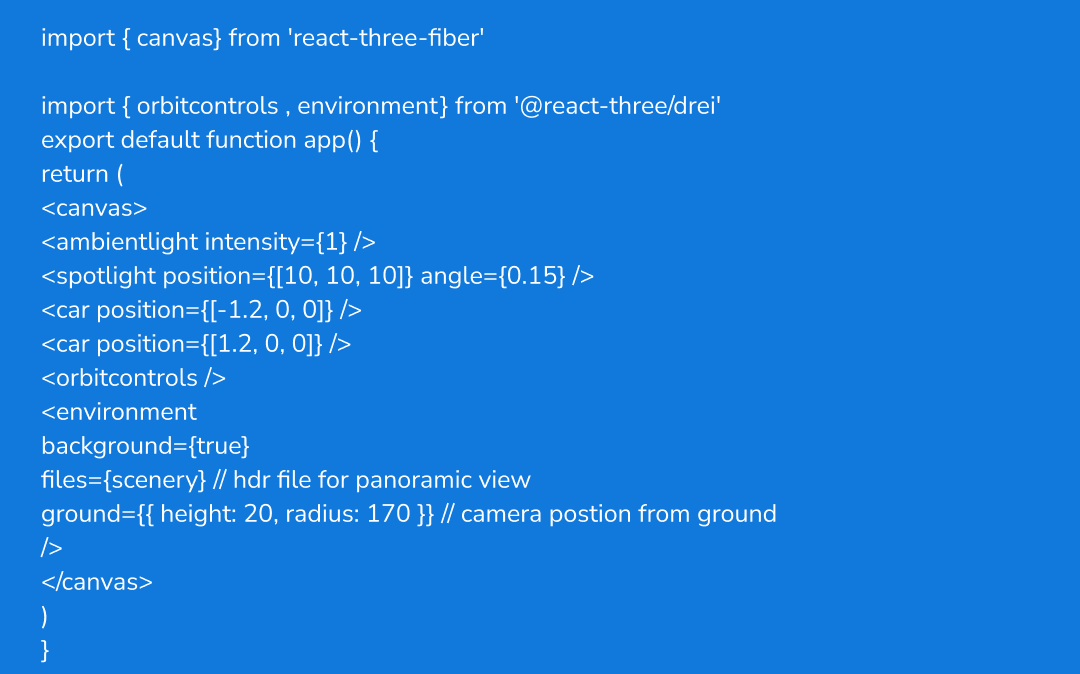
Step 9 (Using Drei to add Environment):
You can also add a background instead of static colours, which gives you a nice and immersive BG.
Drei provides an Environment component that you can use to add any panoramic view as a background in your application, but it is not very configurable.
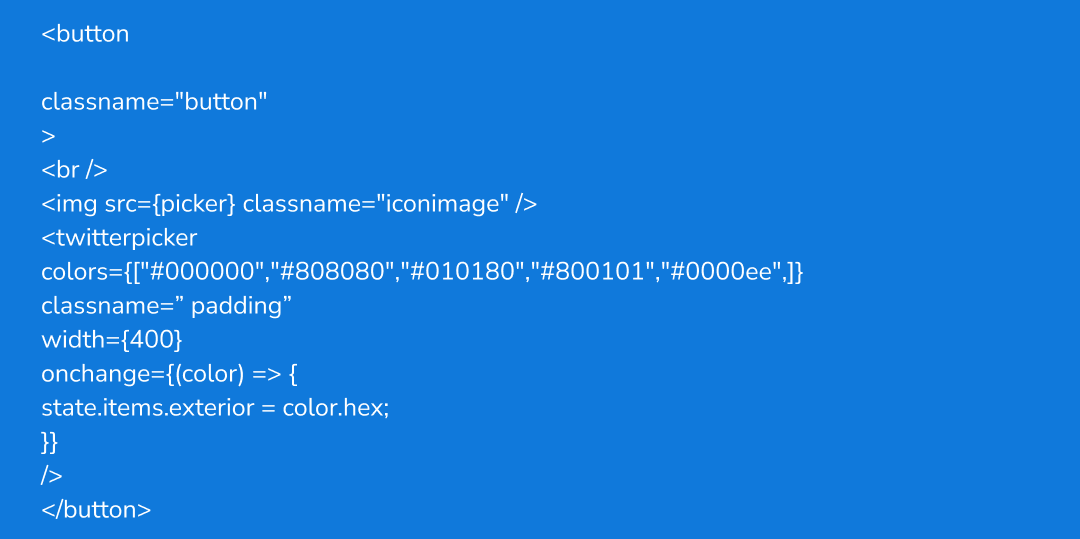
Step 10 ( Add colour change functionality to car Model):
Create a div with a button for colour change. Add whatever colour you want using TwitterPicker from react-colour. Update the colour in state items on the onChange function of TwitterPicker.Refer to the code below.
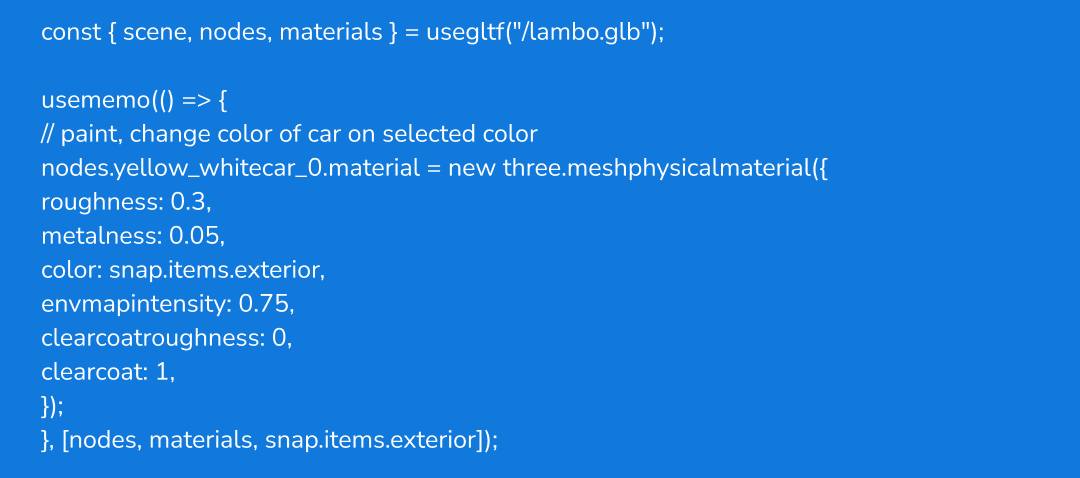
Send the above state object to the js file for the 3d car model using props.
Now update the colour in the js file created for 3dModel where our glb model is rendered using nodes. Find the node name of the car body in a blender and update the colour property using THREE.MeshPhysicalMaterial.
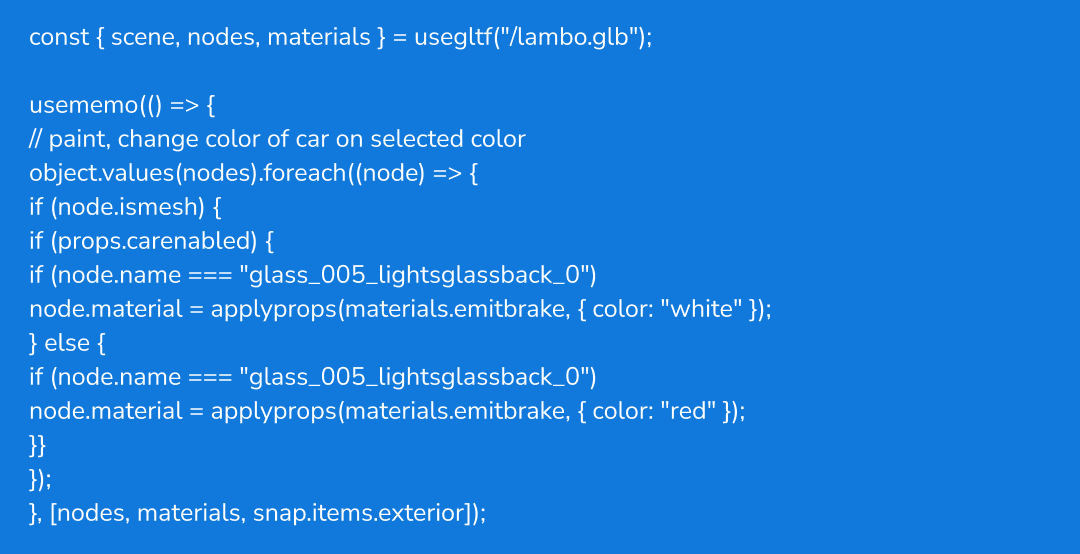
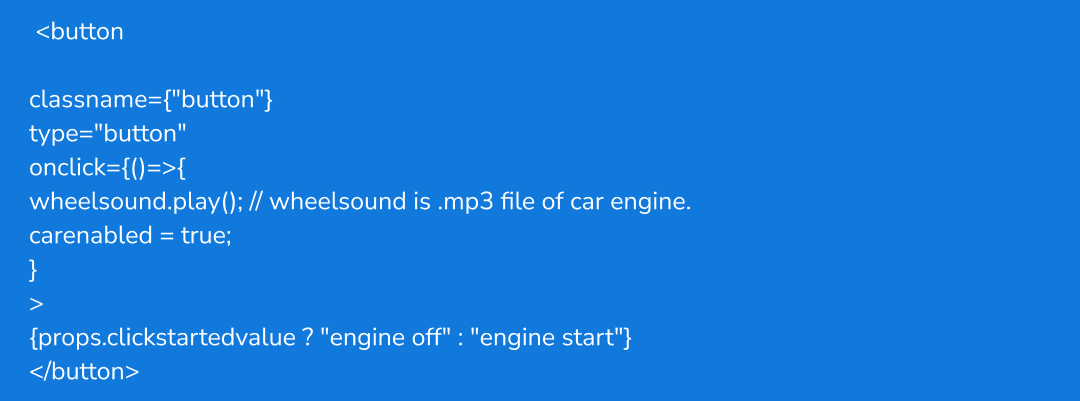
Step 11 ( Add Engine Start Audio with a change in a headlight colour)
Create a div with a button for colour change. Add the audio file and onClick play that audio. Change the state of carEnabled to "true”. Refer to the code below.
Send the above state object to the js file for the 3d car model using props.
Now update the color in the js file created for 3dModel where our glb model is rendered using nodes. Find the node name of the backlight body in the blender and update the color property.